
Tutorials
Learn how to use your CodePad
Interactive guides that show you exactly what appears on the CodePad screen. Start with the basics, then explore the menu, the settings, the bricks and your first programs.
Getting started
A few basics before you start coding: how to power and charge your CodePad, what the colourful buttons do, and a couple of things to avoid.
⏻ Turning it on and off
- On: press the small black button once.
- Off: press the same black button twice quickly.
🔌 Charging
- Charge with a standard USB-C cable and a normal USB power source.
- Use only a 5V charger or USB port. A 5V / 1A, 5V / 2A or 5V / 3A charger all work fine.
- Never use a non-standard adapter that outputs more than 5V.
🔋 Battery indicator
The 4 red LEDs to the right of the buttons show the charge level. When all four LEDs are lit, the CodePad is fully charged.
⚠ Don’ts
Meet the buttons
The CodePad has no confusing labels to memorise. We refer to every button by its colour.

- ▶ Green button · Run / Select
Runs your brick program. In the menu it selects and opens the highlighted game. - ■ Blue button · Step
Runs your program one command at a time so you can watch each brick happen. - ▲▼ Red Up / Down · Move
The two red arrows move the selection up and down through a menu. - ⚙ Orange button · Settings
Opens the settings screen: device settings from the menu, game settings while playing. - ↩ Yellow button · Back
Goes back to the previous screen, or leaves a game and returns to the menu.
After turning it on: the menu
When you turn on the CodePad you see the game selection menu. Use the red Up / Down arrows to browse, then press the Green button to open a game. Click the screen below to explore.
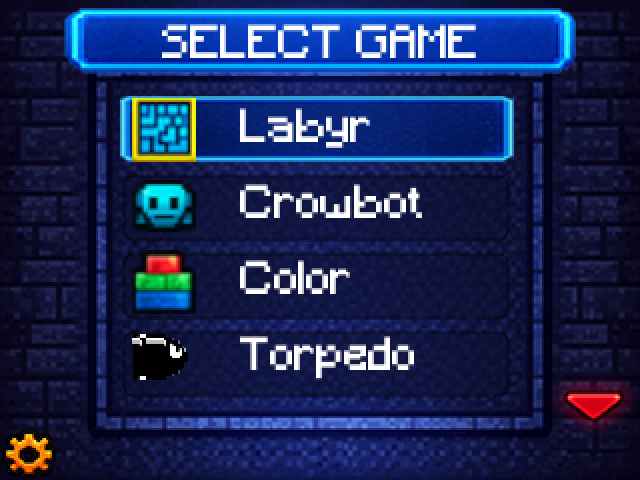
- Menu title: shows which menu you are in
- Highlighted bar: the currently selected game
- Scroll arrows: more items above or below
- Gear icon: open device settings
- Back arrow: return to the previous menu
Labyr
Guide a Milo (penguin) and Tilo (turtle) through ice & grass mazes by writing programs with your bricks. Starts with simple sequences and builds up to loops, conditionals, variables and functions.
Click a game to select it. Click the selected game again to open it.
Settings
Open the device settings from the main menu with the Orange (Settings) button. Use the red arrows to choose a row and the Green button to change it. Many games also have their own settings, opened with the Orange (Settings) button while playing.
- 🔊 Volume 0-5
Sets how loud the sounds are. 0 turns sound off completely (silent); 5 is the loudest. Press the Green button on this row to step up to the next level. It wraps back to 0 after 5.
- 🎄 Xmas Lights On / Off
When On, the bricks connected to your CodePad slowly glow and cycle through festive colours while the menu sits idle, like a little decorative light show. Turn it Off if you prefer no lights.
- ⬇️ Update shows version
Shows the firmware version currently installed. Press the Green button to start a wireless update: the CodePad waits for the companion app to connect over Bluetooth, installs the new firmware, then restarts. Keep it charged while updating.
Game-specific settings
While you are inside a game, pressing the Orange (Settings) button opens that game’s own settings (for example, Torpedo lets you change the turn time and the number of steps). These use the same screen as the device settings above.
The bricks
Each brick is a single command. You snap them together bottom‑to‑top to build a program. Here is what every brick does.
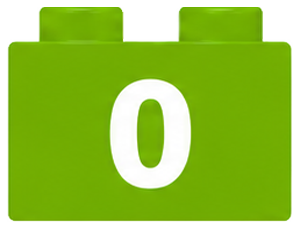
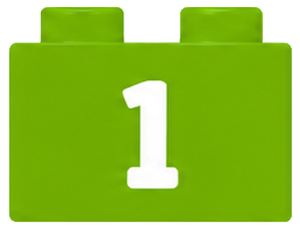
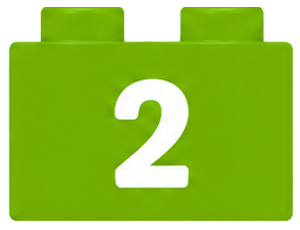
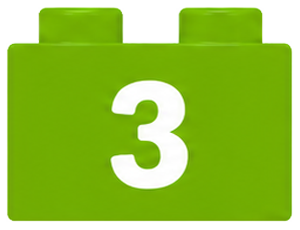
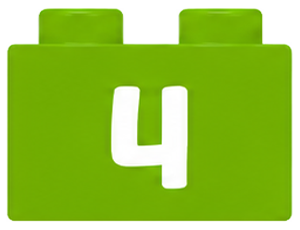
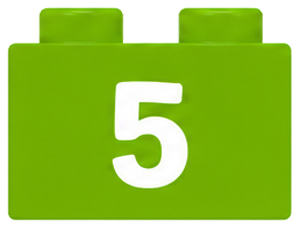
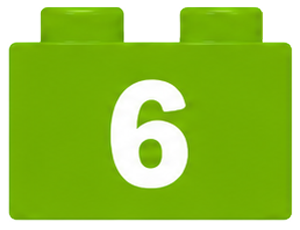
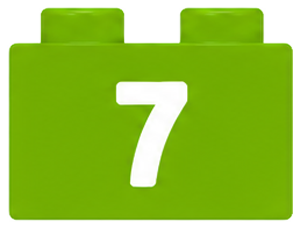
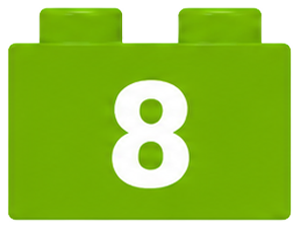
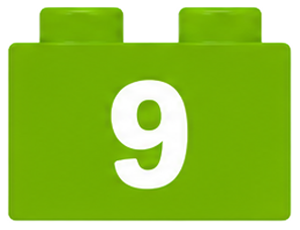
Numbers (0-9)
A value you can use in maths or comparisons. There is one brick for each digit.
Move
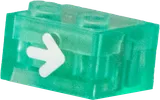
The arrow bricks step the character forward or turn it to face a new direction.
 Up Move forward.
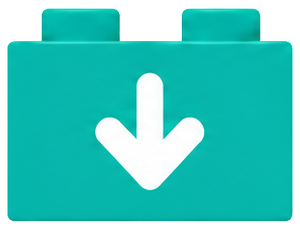 Down Turn around.
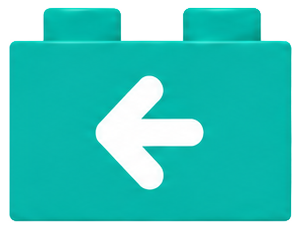 Left Turn left.
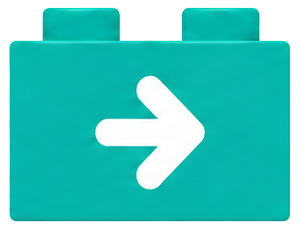 Right Turn right.
Maths
Combine numbers and variables. Tip: put Multiply before a command to repeat it, e.g. 3 × Up.
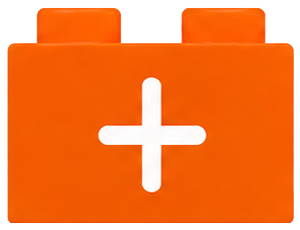 Plus Add two values together.
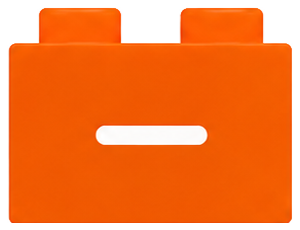 Minus Subtract one value from another.
 Multiply Multiply values, or repeat a command N times.
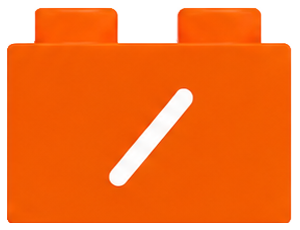 Divide Divide one value by another.
Compare & decide
These let your program make decisions. The IF brick has three branches: a test in the middle, the LEFT branch for when it is false, the RIGHT branch for when it is true.
 Equals Is this the same as that? Also assigns a value to a variable.
 Less than Is one value smaller than another?
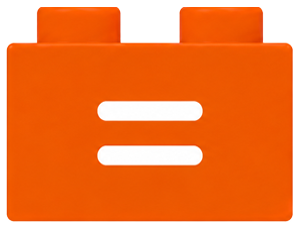
 IF (decision) A wide brick that runs the LEFT branch when the test is false, and the RIGHT branch when true.
Variables & counters
Variables are little boxes that remember a number. Increase and Decrease nudge them up or down.
 X A variable named X you can store a number in and reuse. In the game Torpedo it represents the torpedo itself.
 Y A second variable, Y. In Labyr it represents the walls.
 Z Variable Z. In Labyr it represents the character.
 Increase Add one to a variable (++).
 Decrease Subtract one from a variable (−−).
 Swap Exchanges the two values between two variables.
Loops & flow
Control the order bricks run in: loop, jump around, or bundle bricks into reusable commands.
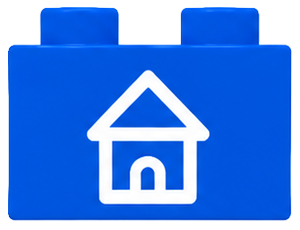 Repeat (house) Jumps back to the first brick, looping the whole program.
 Label Marks a spot in the program you can jump to.
 Go to Jumps to a matching Label, to loop or skip ahead.
 Function Bundles bricks into one reusable command you can call again.
Colours
Colour bricks stand for a colour. Compare them against the Z sensor to react to coloured tiles, or use them in the Color game to light up your bricks.
 Red Stands for the colour red.
 Green Stands for the colour green.
 Blue Stands for the colour blue.
Random
Add a little chance to your programs.
 Random Gives a random number, great for games of chance.
Labyr: write your first programs
This tutorial opens when you choose Labyr. Scroll up to the menu, select Labyr and press the Green button, or open it here.
In Labyr you guide a penguin (on ice) or a turtle (on grass) to the eggs by snapping command bricks into a program. Pick a level below and press Play to watch the solution run, one brick at a time.
On ice the penguin slides until it hits a wall. On grass the turtle steps one cell per move. Collect every egg.
More tutorials coming soon
Next up: loops, conditionals and functions, including the branching IF brick that splits a program into false (left) and true (right) paths.